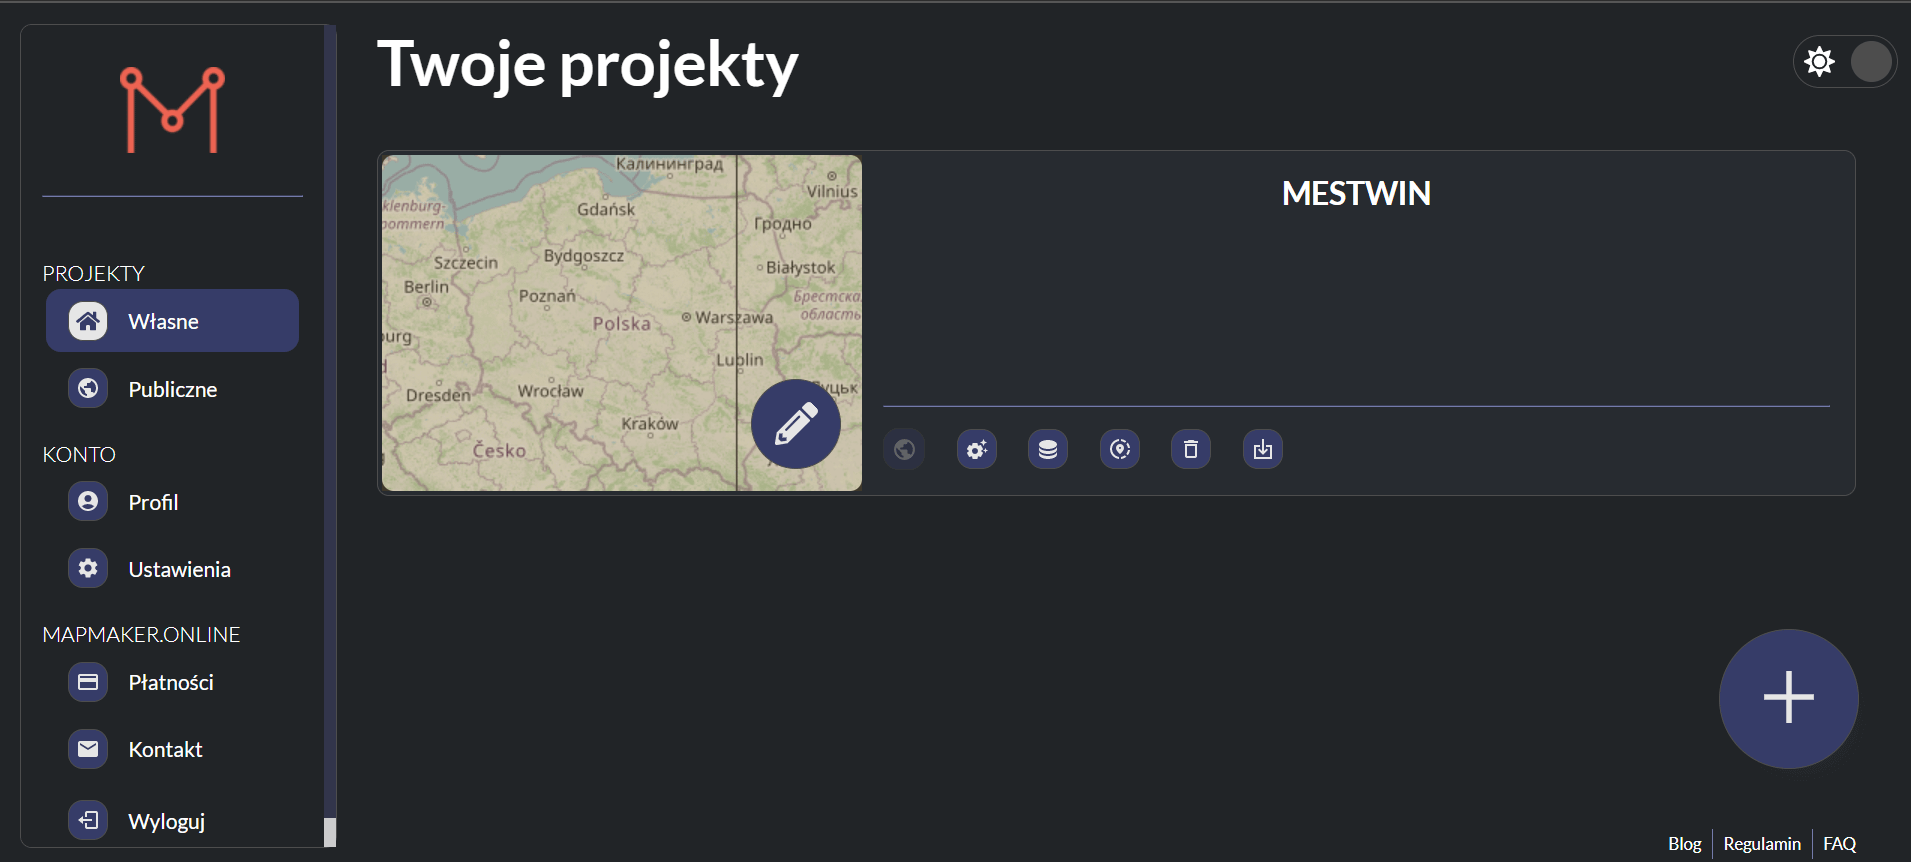
Dane Przestrzenne: Wyzwanie dla Samorządów i Nowe Rozwiązania od MapMaker.online
W kontekście rosnących wymagań dotyczących danych przestrzennych oraz ich dostępności, firmy takie jak MapMaker.online pełnią kluczową rolę w
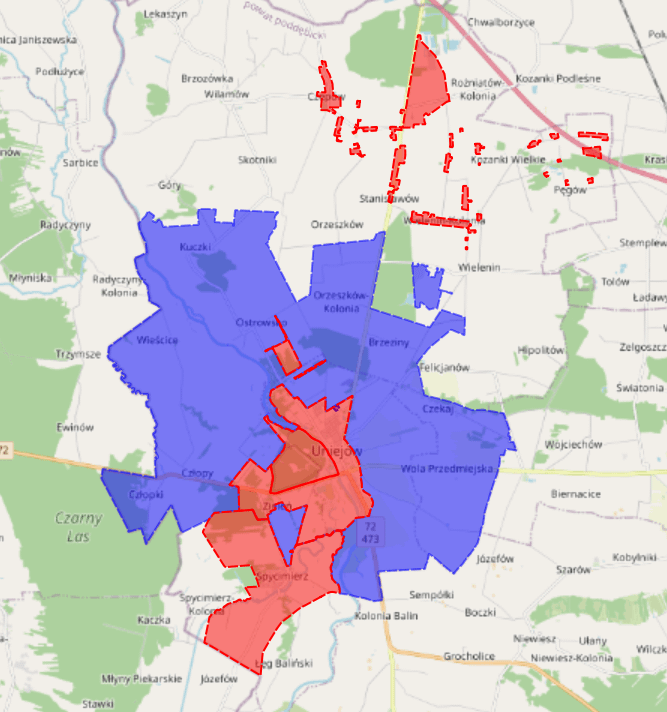
Odkryj nasz kompleksowy zbiór aktów planowania dla Uniejowa, który obejmuje przystąpienia.
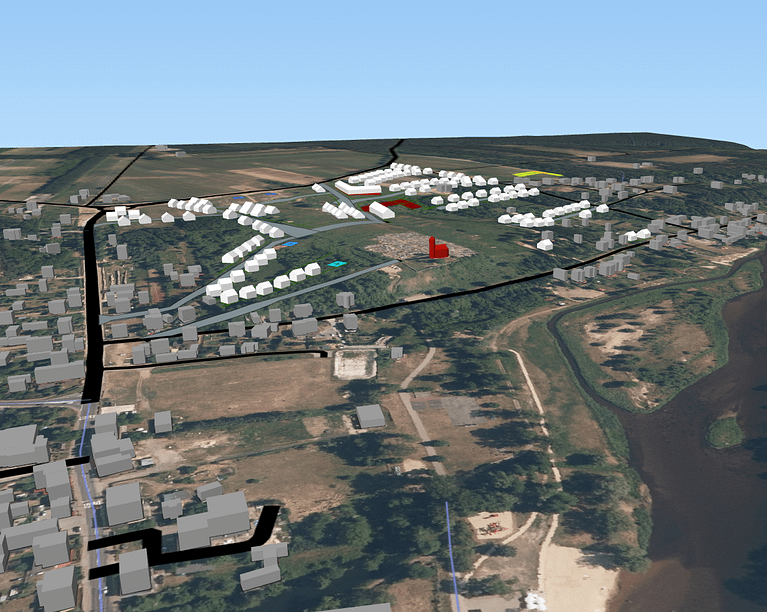
Przygotuj inwestycje w modelu 3D i miej pewność w podejmowaniu słusznych decyzji.
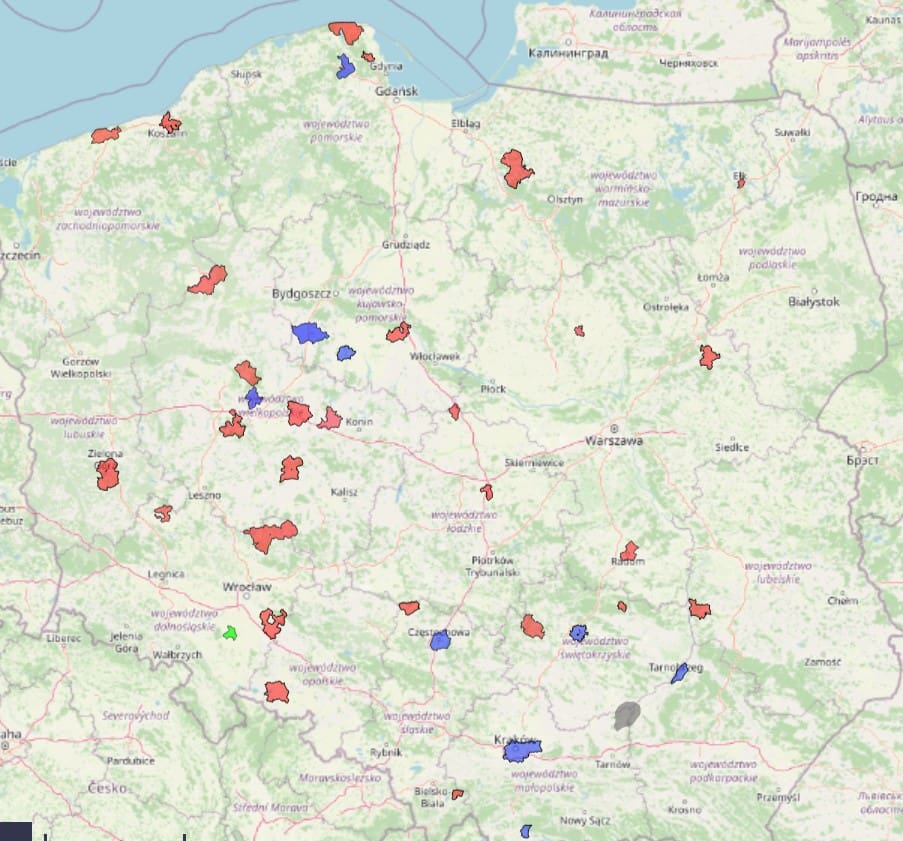
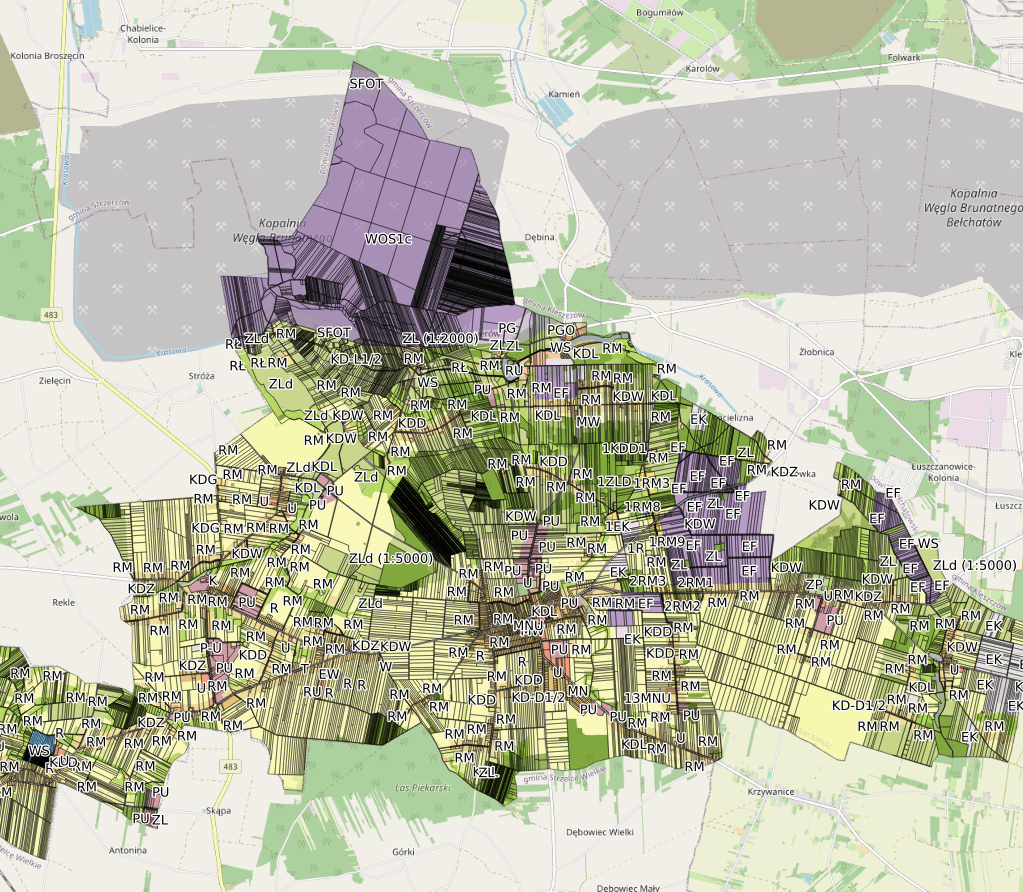
Centralna baza danych przestrzennych dla POG.
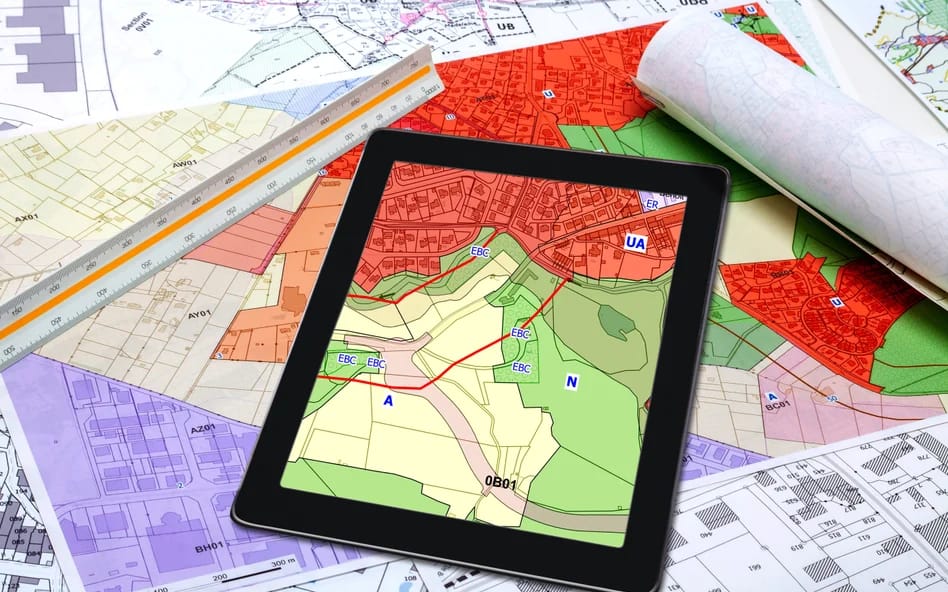
Skorzystaj z naszej innowacyjnej usługi, która pozwala na publikację zbiorów danych przestrzennych za pomocą standardów WMS, WFS i CSW w zaledwie kilka chwil!

W kontekście rosnących wymagań dotyczących danych przestrzennych oraz ich dostępności, firmy takie jak MapMaker.online pełnią kluczową rolę w
Dane przestrzenne online: Zmiany w ustawie o planowaniu przestrzennym są na horyzoncie. Te zmiany mogą wpłynąć na sposób,